3 Timesaving Tips and Tricks That Use Name Tags
Name tags can save time and money – one name tag at a time! If you’re anything like me, you’re always on the lookout for simple ways to save time. And if it saves money, too? Even better! Over the years, I discovered a system that helped me do both—and it all started with my frustration with name tags.
Sticker Struggle
When I first began using premade name tags, I used tags that were sticker-style name tags. Think ‘hello, my name is . . .’ type name tags that we wear when attending workshops. But here’s the thing: writing out each student’s name on these sticker tags and replacing lost or damaged name tags became a constant chore. I was always needing to make ONE more name tag for a lost or ruined tag, and it seemed that it always happened at the most inconvenient times.
My First Upgrade
One year, I unexpectantly switched to name tags designed for lanyards instead of using stickers. I happened to find a pack of sturdy name tags while shopping at Lakeshore Learning for bulletin board supplies. I chose a bright design and I was especially excited that they were thick and sturdy. I figured that these sturdy tags might just last a bit longer and save me from needing to make as many new tags.

I bought name tags designed for lanyards, but not the lanyards that went with them. I used these tags on my student’s cubbies and as their name card for managing center rotations. I was thrilled at the idea of not having to make new name tags as often. Although this turned out to be true that they did last longer, I still ended up needing to write out names by hand—and when I needed to redo them it was still inconvenient!
Next came my two favorite discoveries! They changed everything!
Name Tag Tip #1: Laminate First
The next year I bought the same name tags from Lakeshore Learning. I also began laminating these tags before writing on them. This turned out to be SUPER helpful. The name tags were even more sturdier and I was no longer needing to create a whole new name tag. I could tidy up a name tag without needing to start from scratch. This discovery made it easy to reuse tags, which I loved, but I still hadn’t solved the problem of quickly switching out names.

Name Tag Tip #2: Use Removable Labels
The real game-changer? I started using Removable Avery labels on top of the Lakeshore Learning laminated name tags. I could print names using my favorite fonts, peel and stick in minutes, and reuse tags year after year. No handwriting necessary! Woo-hoo!

Best of all, I could prep blank tags before I even had my class list. Once my list arrived, I just updated my template, printed names on the removable labels, and I was ready to go. And guess what? I rarely had to replace a single name tag. Another, woo-hoo!
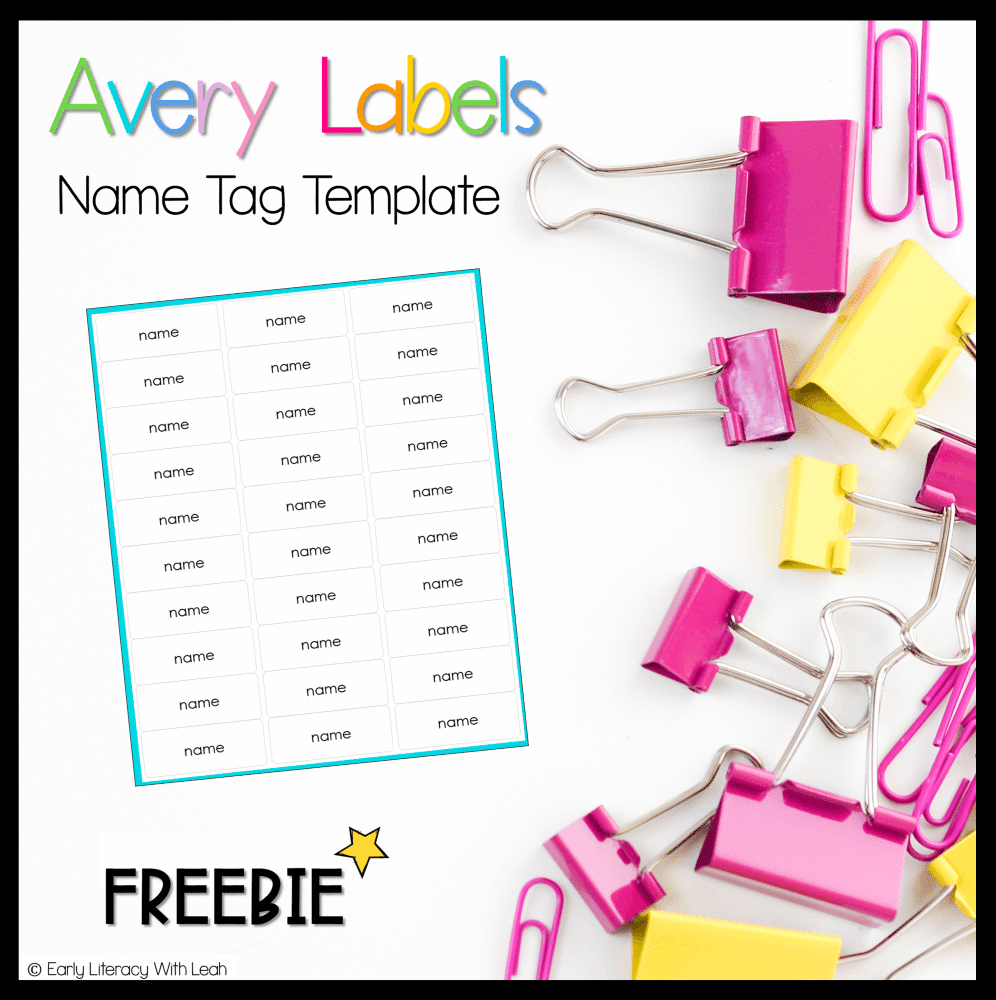
Grab this free Name Template for Avery Removable Labels #6460. It is formatted and ready to be edited with your students’ names.
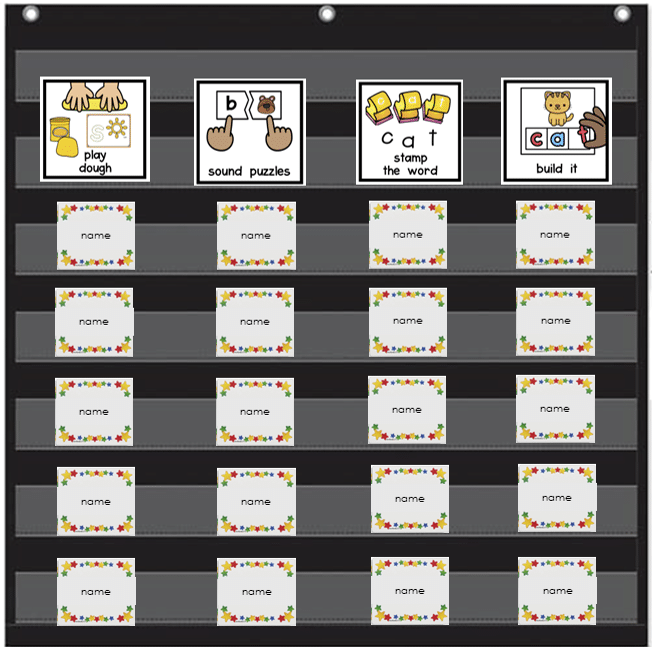
By the way — using laminated name tags with removable labels for center rotation management became my favorite way to use laminated name tags. They were so versatile. The cards could be moved and changed upon need. I especially liked that children could move their sturdy name card easily and without damage.
Name Tag Tip #3: a Bonus
Fast forward—I started wondering how much time the sturdy little laminated name tags with removable labels would save me if I could find even more uses for them. One day I opened a cupboard and had an aha moment. I realized I might be able to use these laminated jewels to label ALL the bins in ALL of my cupboards! I used the same template, laminated tags and Avery labels that I used for my students’ name tags and organized all my classroom storage!
My cupboards never looked better—or functioned more efficiently! The biggest win? No more digging in the art cupboard for lost supplies! I could spot what I needed at a glance.
And the cherry on top? I shared this organizational system with other teachers and they LOVED it too.
Want to Try It?
Below are the name tags I used. Check out the Lakeshore Learning name tags if you want a sturdy tagboard name tag to laminate and use repeatedly.

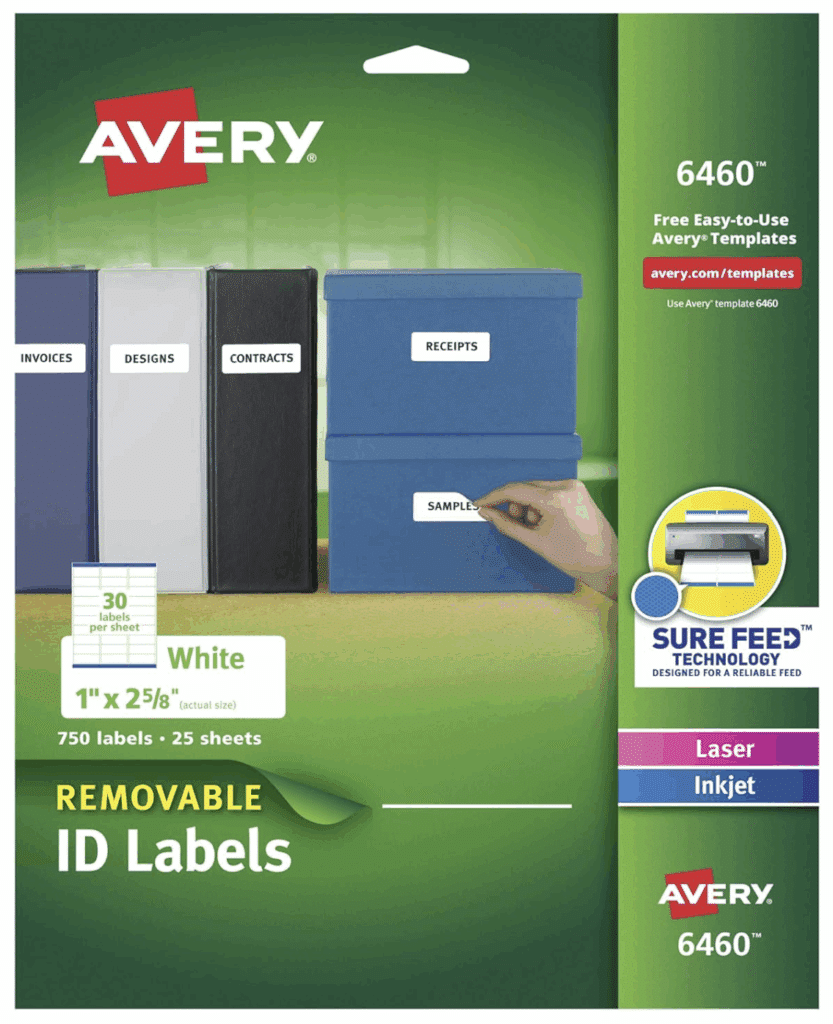
Explore Avery Removable labels, #6460, 1 x 2 5/8 inch on Amazon. There are 750 labels per package for $16.09. I know 750 labels sounds like a lot of labels — but they were well worth it for me. I ended up using them for all kinds of other reasons. Also, I only needed to replenish them every other year or so.
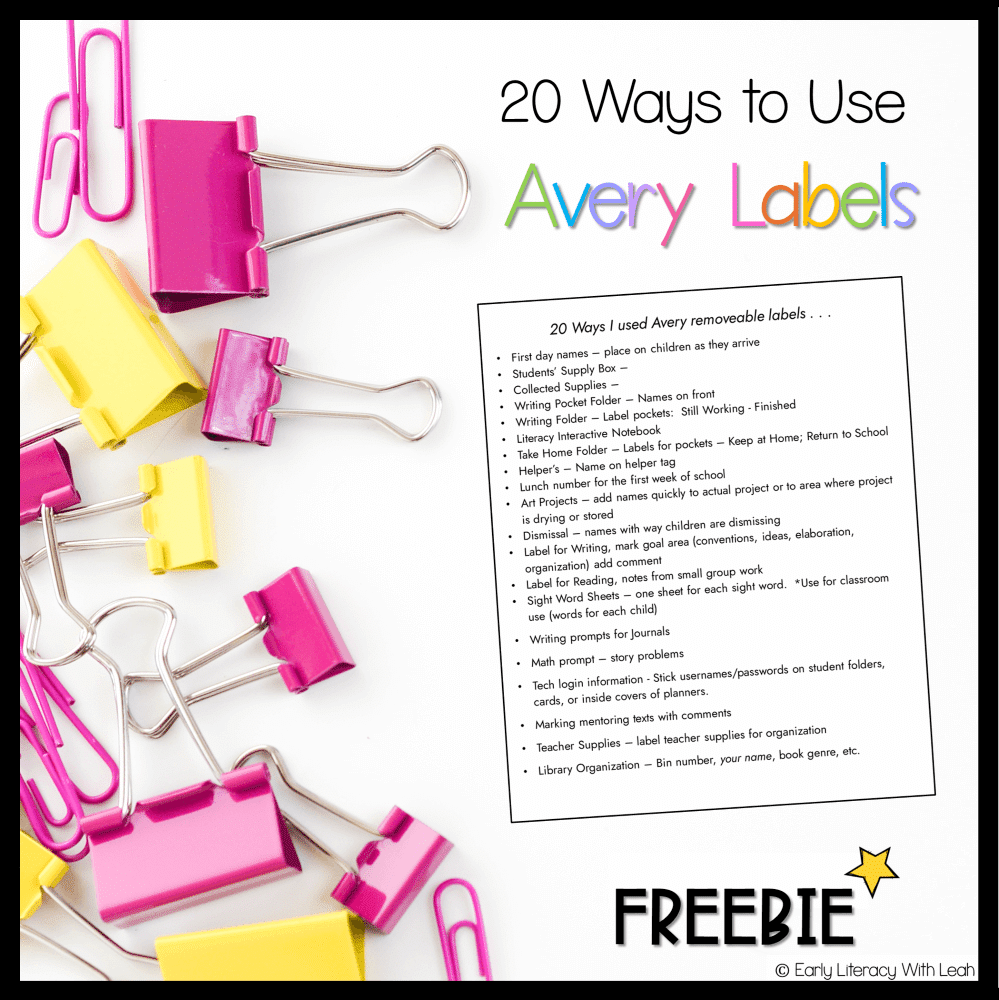
I found many uses for Avery labels over the years and they became my go to FAVORITE resource! Grab this free list of 20 Ways to Use Avery Labels. Also, if you have a favorite source for name tags, let me know—I would love to hear from you as I’m always up for variety!
Final Thought
This simple system made a big impact on my day-to-day classroom life. It saved time, saved money, and brought me a little bit of calm in the beautiful chaos of teaching. And that — made it totally worth it.
Related Posts
Discover more Literacy Centers in K–1 are Magical and Empowering!

Together, let’s bring the magic of literacy to your early learners!